Polygel is a new nail product whose popularity is growing with time. If you are doing your nails and the Polygel doesn’t stick on your nails, there are some things you need to know.
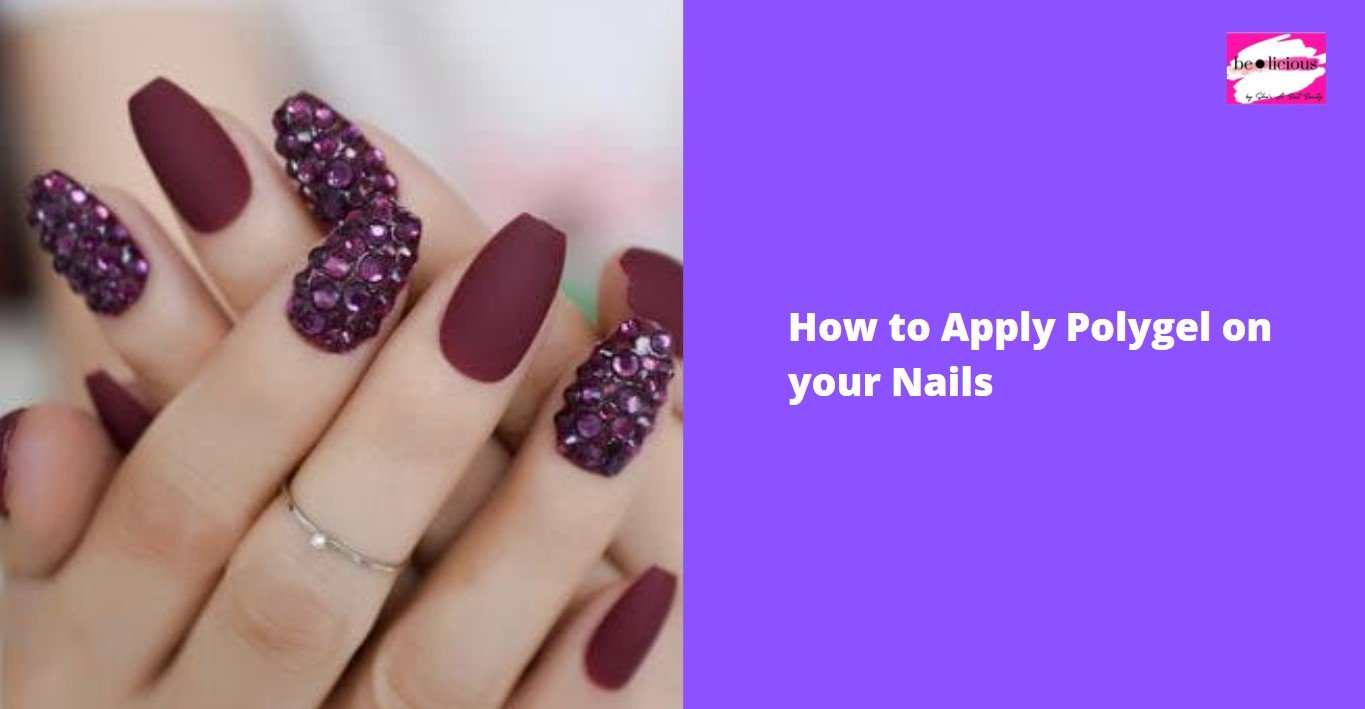
What is Polygel?
Whether you like your nails long or short, there is nothing better like getting a manicure. There is something about getting your nails done that makes you feel instantly beautiful.
While you may be familiar with traditional nail polish, gels, and acrylics, you may want to know more about Polygel nails.
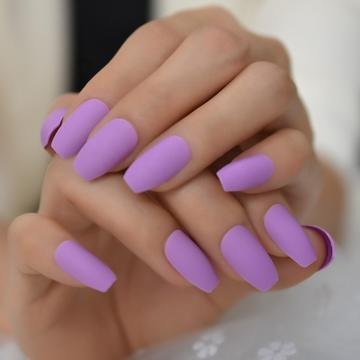
Polygel is a hybrid formula created for nail technicians and offers the best qualities of acrylics and gel nails. It can be described as a nail enhancement that can be used to give your nails a perfect look. It has a gel-like consistency and comes in different colors just like regular nail polish.
Polygel is harder than regular gel but is more flexible and lightweight compared to acrylics. So, how do you apply Polygel on nails?
How to Apply Polygel
Are you curious about the whole process of applying the Polygel on nails? Here is what to expect.
- The first thing is to prepare the nails for application. This involves cutting the nails, filling the nail down, and shaping them. Ensure that the nails are short for application. Take care when cutting the cuticles to avoid bleeding.
- Wash the nails with soap, water, and disinfectant to destroy any virus on the cutting object. Afterward, wipe the nails with a dry towel. Select the correct set of dual forms for all your 10 fingernails. These dual forms should be a bit larger on the sides of the nail than the actual nails.
- Your nail technician will apply the Polygel formula you selected for your nails. They use a small precise brush that is placed in the center of your nail. Start by taking the Polygel and place small amounts on the dual form.
- Smooth the formula by using a brush moistened with a special solution made specifically for Polygel. This solution is spread over your nails to cover and shape them as desired. Whether you like round or almonds nail shapes, you will get it.
- The next thing is to place your nails under UV or LED lamps for 30 seconds. The nail technician can repeat the above steps to apply another color or coat to your nails. Smoothen any bumps or uneven areas by pressing to define the shape you want.
- Apply a shiny or matte finish to seal the Polygel in your nails and add a preferred finish. Place the nails under the LED light lamp to ensure a premium press on nails.
- Finalize by moisturizing your hands to complete your manicure.
Conclusion
Using the best Polygel nail kit and proper application can make your nails look good. With good application, the Polygel manicure can last up to four weeks. If applied and removed properly, Polygel can be considered safe for your nails than acrylics or gel because no chemicals are released into the air during application.