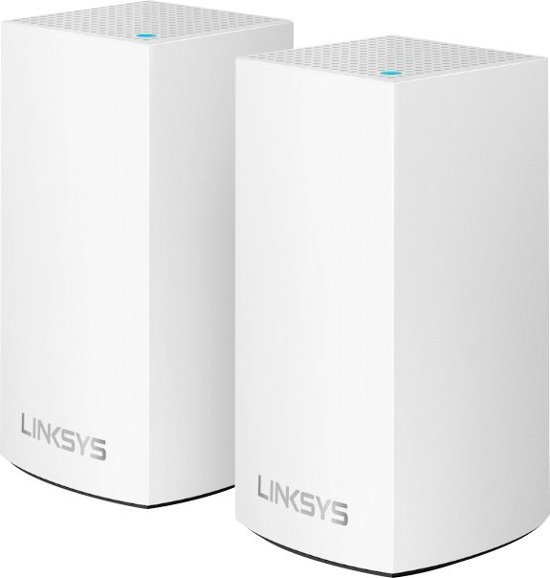
Linksys Velop is one of the best networking routers, which provides the users to access blazing-fast internet in every corner of their house along with impregnable security and extra-ordinary features. In order to access the internet without any hassle through Linksys Velop, you need Linksys Velop package, so that you can buy a single node or a package of three.
It is not possible for you to connect more than 3 nodes to a single Velop Linksys system. But, if you want to connect more nodes, then you have to require a couple of things given-below:
- One more network
- Additional Ethernet Port in your router or Modem
- Linksys app. You can easily download it from Apple App Store and Google Play Store.
Initial Velop Linksys Wireless Router Setup
- The Velop Linksys wireless router setup process begins with plugging in one of its nodes. Turn on the node (1). Connect power and the network cables carefully.
- Wait for the node to display a stable blue color.
- Download and install the Linksys app.
- Once installed, open the app and follow Velop Linksys wireless router setup instructions highlighted below.
Linksys Velop Setup
- Click on the Launch Setup Button. As soon as you click on the button, the Linksys app searches for its first node automatically. The light on your Velop system node becomes purple. It indicates that the Linksys app has successfully located your device.
- Post that, click on the Next button. You will be prompted to create an account to connect with your Velop Linksys system.
- A window will appear asking you to set a unique name and password for your Velop Linksys system. We suggest you create a strong password for your Velop Linksys system consisting of numbers, letters, digits, and special characters.
- Next, give a unique name to the node.
That’s it! Your first node is now set up successfully. Now, tap on Next to navigate to the next screen to set up 2nd node of your Linksys Velop system.
Adding Another Node to Linksys Velop System
Are you looking to add another node to your Linksys Velop system? If yes, then have a quick glance at the steps outlined underneath.
- Right off the bat, plug in the node and turn it on.
- Open the Linksys app.
- Click on “Add Another Node” option.
- Follow the on-screen instructions given on the Linksys app to add another node without any hassle.
- Your Linksys Velop system will do all the hard work for you. All you have to do is to sit back and relax and wait for the LED on the node becomes purple. As soon as the LED on the node becomes purple, give it a unique name.
- The main node of your Velop Linksys system will transfer the configuration to the second and the third node. The process will might take 15-20 minutes. Till then, you can have a cup of tea or coffee and stream half of your Netflix series.
Congrats! The nodes are working properly! Extra node has been added to your Linksys Velop system! Linksys wireless router setup process is completed! What else is needed? Head towards your courtyard or backyard and enjoy extended speed of the whole-home mesh network.
Verdict
Now that you have come to know that Linksys Velop is an ideal device for accessing the internet in every nook and cranny of your house without signal drop. The nodes of the Velop Linksys system allow you to stay connected to a single network 24×7. After the Linksys wireless router setup and adding nodes to your Velop system, you will surely like the functioning of it because of its amazing internet speed and safety features.
Contact our professionals for Linksys Velop review.